Checkout 🛍️
Our Checkout is a pre-made component that allows you to onboard a customers without with minimal effort on your end. It will take care of collecting all the required billing and payment information required to bill them. After successful registration, a subscription will be created and the user can be then forwarded back to you.
You can easily embed the Checkout on your website and start onboarding customers fast. You can even just use the steps that are relevant to you.
Getting started
To install the button on your page, you will need to first load the SDK with your preferred method. You can find more information about this in the SDK Installation page. Note: You only need to add this code once on your page.
For example:
<script
  src="https://cdn.abowire.com/sdk/latest/abowire.js?clientId=<your-client-id>&accountId=<your-account-id>&callback=initAbowire"
  async
></script>
If you want to embed the checkout right between your own content, you can add this HTML tag where you want the checkout to appear:
<abowire-checkout product="product_1"></abowire-checkout>
Of course, the selected product can also be changed dynamically with a little Javascript help.
If you use this component together with the <abowire-button>, you only have to configure the parameters on one of the components. Eg:
<abowire-button product="product_1">Subscribe to Scale</abowire-button>

<abowire-button product="product_2">Subscribe to Premium</abowire-button>

<abowire-checkout redirect-url="/success" />
Open own button/link with our checkout in a modal
If you only want to open the checkout in a modal window after you have selected the product, you can do that with a little Javascript.
<script>
  async function initAbowire() {
     document.getElementById('myOwnButton').addEventListener('click', () => {
        abowire.checkout.configure('product', 'premium');
        abowire.checkout.show({ isModal: true });
     }
  }
</script>

<button id="myOwnButton">Subscribe</button>
Customize the checkout steps
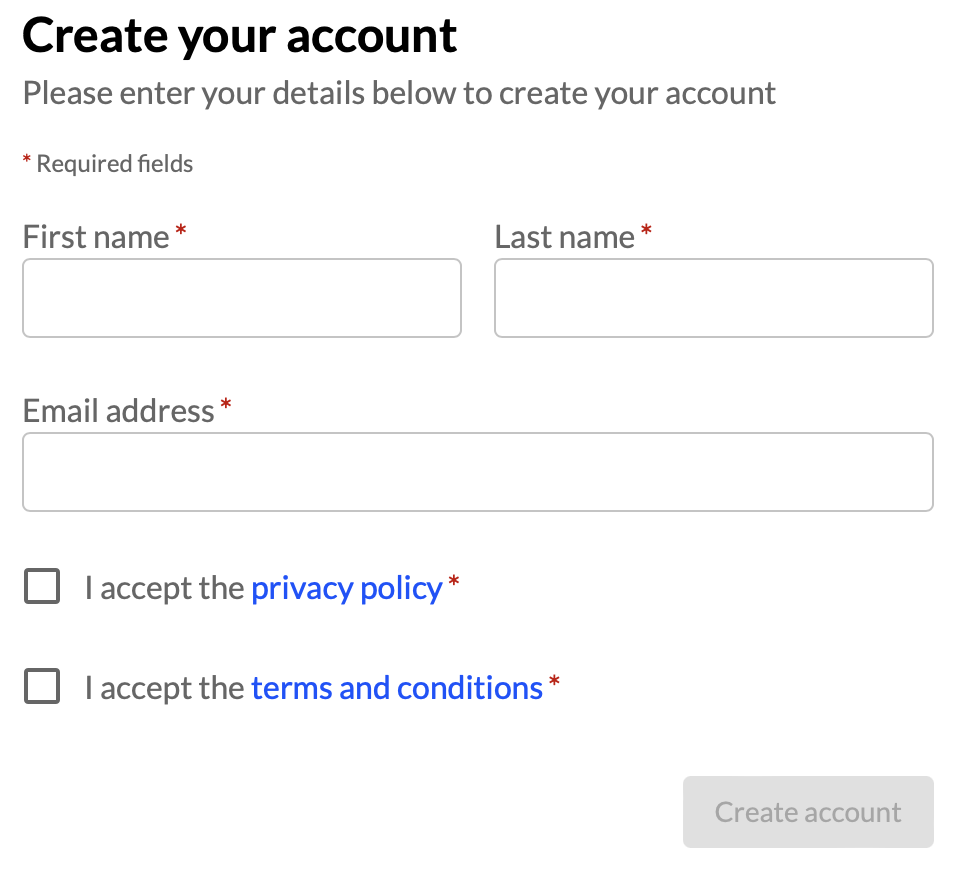
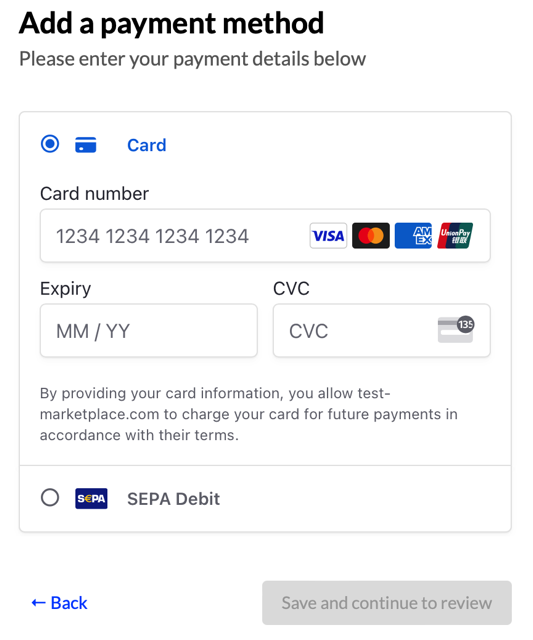
The default Checkout steps are: Contact details, Billing details, Product selection, Payment details, Review.
You can change the order of the steps, use only some of them or even send part of the data via API instead. It is important that all the data is complete at the end so that we can create the invoices and charge your customers.
<abowire-checkout
  product="product_1"
  steps="billing,payment"
></abowire-checkout>
Only show the Contact step
<abowire-checkout product="product_1" step="contact"></abowire-checkout>
Only show the Billing step
<abowire-checkout product="product_1" step="billing"></abowire-checkout>

Only show the Product selection step
This step requires you to select a product beforehand with the product parameter. The products shown are the upgrade or downgrade options for the defined for `product``.
<abowire-checkout product="product_1" step="product"></abowire-checkout>

Only show the Payment step
<abowire-checkout product="product_1" step="payment"></abowire-checkout>
Only show the Review step
<abowire-checkout product="product_1" step="review"></abowire-checkout>

Use a Customer Session created in the backend
If you have already created a Customer Session in the backend, you can use it to prefill the checkout. This is useful if you want to create a checkout for an existing customer.
<abowire-checkout
  session="customerSession_1"
  steps="payment"
  redirect-url="/success"
/>
Available parameters
product: The product ID of the product you want to subscribe to.redirect-url: The URL to which the user will be redirected after successful subscription.on-success: A Javascript function that will be called after successful subscription (ignored when specifyingredirect-url).locale: The locale to use for the button and checkout. Currently supported:en,de,es.country: Forces the billing country to a specific country. Supports any ISO 3166-1 alpha-2 country code.session: The ID of a customer session created in the backend. This is useful if you want to create a checkout for an existing customer.step: The checkout step to show. Currently supported:contact,billing,product,payment,review.steps: The checkout steps you want to show (separated by comma). Currently supported:contact,billing,product,payment,review.